SAML
Teams on a Scale plan can configure SAML authentication for their team.
By default, users who sign in through their organization's SAML connection are granted Viewer membership. To elevate their permissions, a team admin must adjust their role via the Team Settings page in the Evervault Dashboard.
SAML is only available for teams on Scale plans. Please contact support to enable SAML for your team.
Prerequisites
The user configuring SAML from the Evervault Dashboard must be a team admin. You will also need admin access to your IdP to complete the setup from the provider.
By default, the email domain of the admin configuring SAML is allowlisted as a discovery realm. To add further domains please contact Evervault support.
Setup
- Navigate to Team Settings -> Security in the Evervault Dashboard.
- Click the Configure button next to Single sign-on (SAML) to begin configuring your SAML connection.
Okta
- Use the SAML connection details from the Evervault Dashboard to create the connection within Okta.

- Evervault requires that your IdP maps the account's email into the app attribute
email. To configure this in Okta, navigate toSign On->SAML Attributes->Profile attribute statements. Set theemailattribute to the valueuser.email.

- Return to the Evervault Dashboard's Security page. Input the Okta-generated sign-in URL and x509 certificate. The certificate may be in .PEM or .CER format. If you enable sign-out, you must also provide the Okta-generated sign-out URL.
- Input your SAML sign-in URL and upload your IdP's x509 cert in .PEM or .CER format. Optionally you can enable sign-out and provide a sign-out URL.
- Press the Create SAML Connection button. After the Connection has been created successfully, you will see a "Configured" badge next to SAML settings.
- Press the Setting button to view your Connection's metadata.
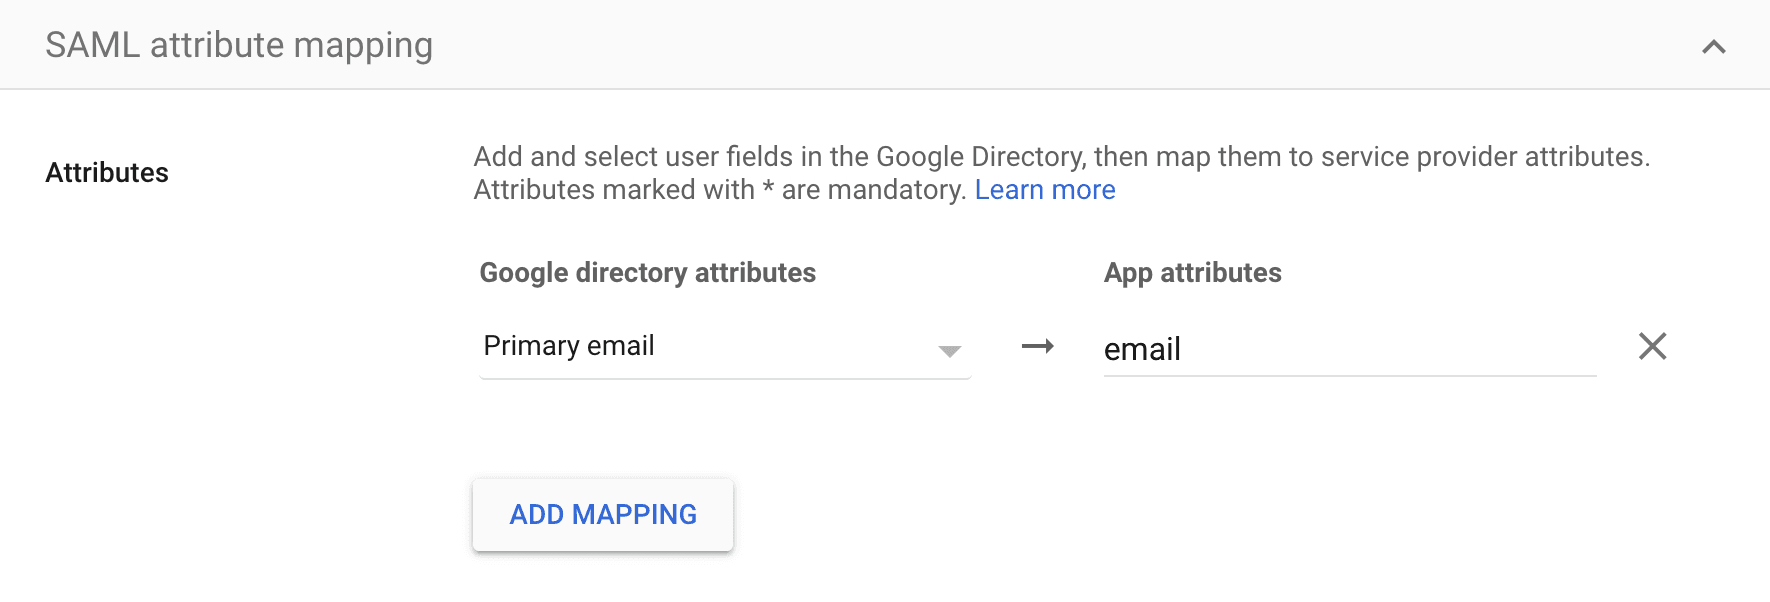
- Evervault only requires a single SAML attribute mapping. To configure this, set the mapping of Primary email to the app attribute
email. Below is an example of what this looks like when using Google as an IdP.
IdP-initiated sign-in
IdP-initiated sign-in is disabled by default, and users must start the SAML flow from the Evervault Dashboard. If you need to support an IdP-initiated flow, contact our support team.