Sandbox
Evervault's Sandboxes provide isolated environments for testing and validating configurations without affecting production. Unlike regular apps, they grant access to all Scale plan features, enabling advanced testing. Sandboxes include specialized tools like simulating card updates and triggering webhook events to refine integrations before going live. This ensures development and production stay separate, protecting production data while fully utilizing Evervault's features for comprehensive testing.
Sandbox vs Production
| Sandbox | Production |
|---|---|
Designed for testing, experimentation, and validation in a safe environment. Ideal for testing new features and integrations and evaluating Scale plan features (e.g., 3D Secure, Card Account Updater, etc.). | Used for live business operations, handling real user data, and ensuring the reliability and performance of your services. |
Data and metrics are isolated from production, ensuring that test results do not affect live data or operations. | Handles real-world data with no cross-contamination from test environments, ensuring accurate analytics and reporting. |
Full range of Evervault features, including Scale plan features, are available for thorough testing and evaluation. | Evervault products and any Scale plan features that have been enabled on your account. |
Minimizes risk by isolating errors, bugs, and issues within the sandbox environment, preventing them from affecting production. | Focuses on minimizing downtime and ensuring that changes are thoroughly tested before deployment to maintain high reliability. |
Creating a Sandbox App

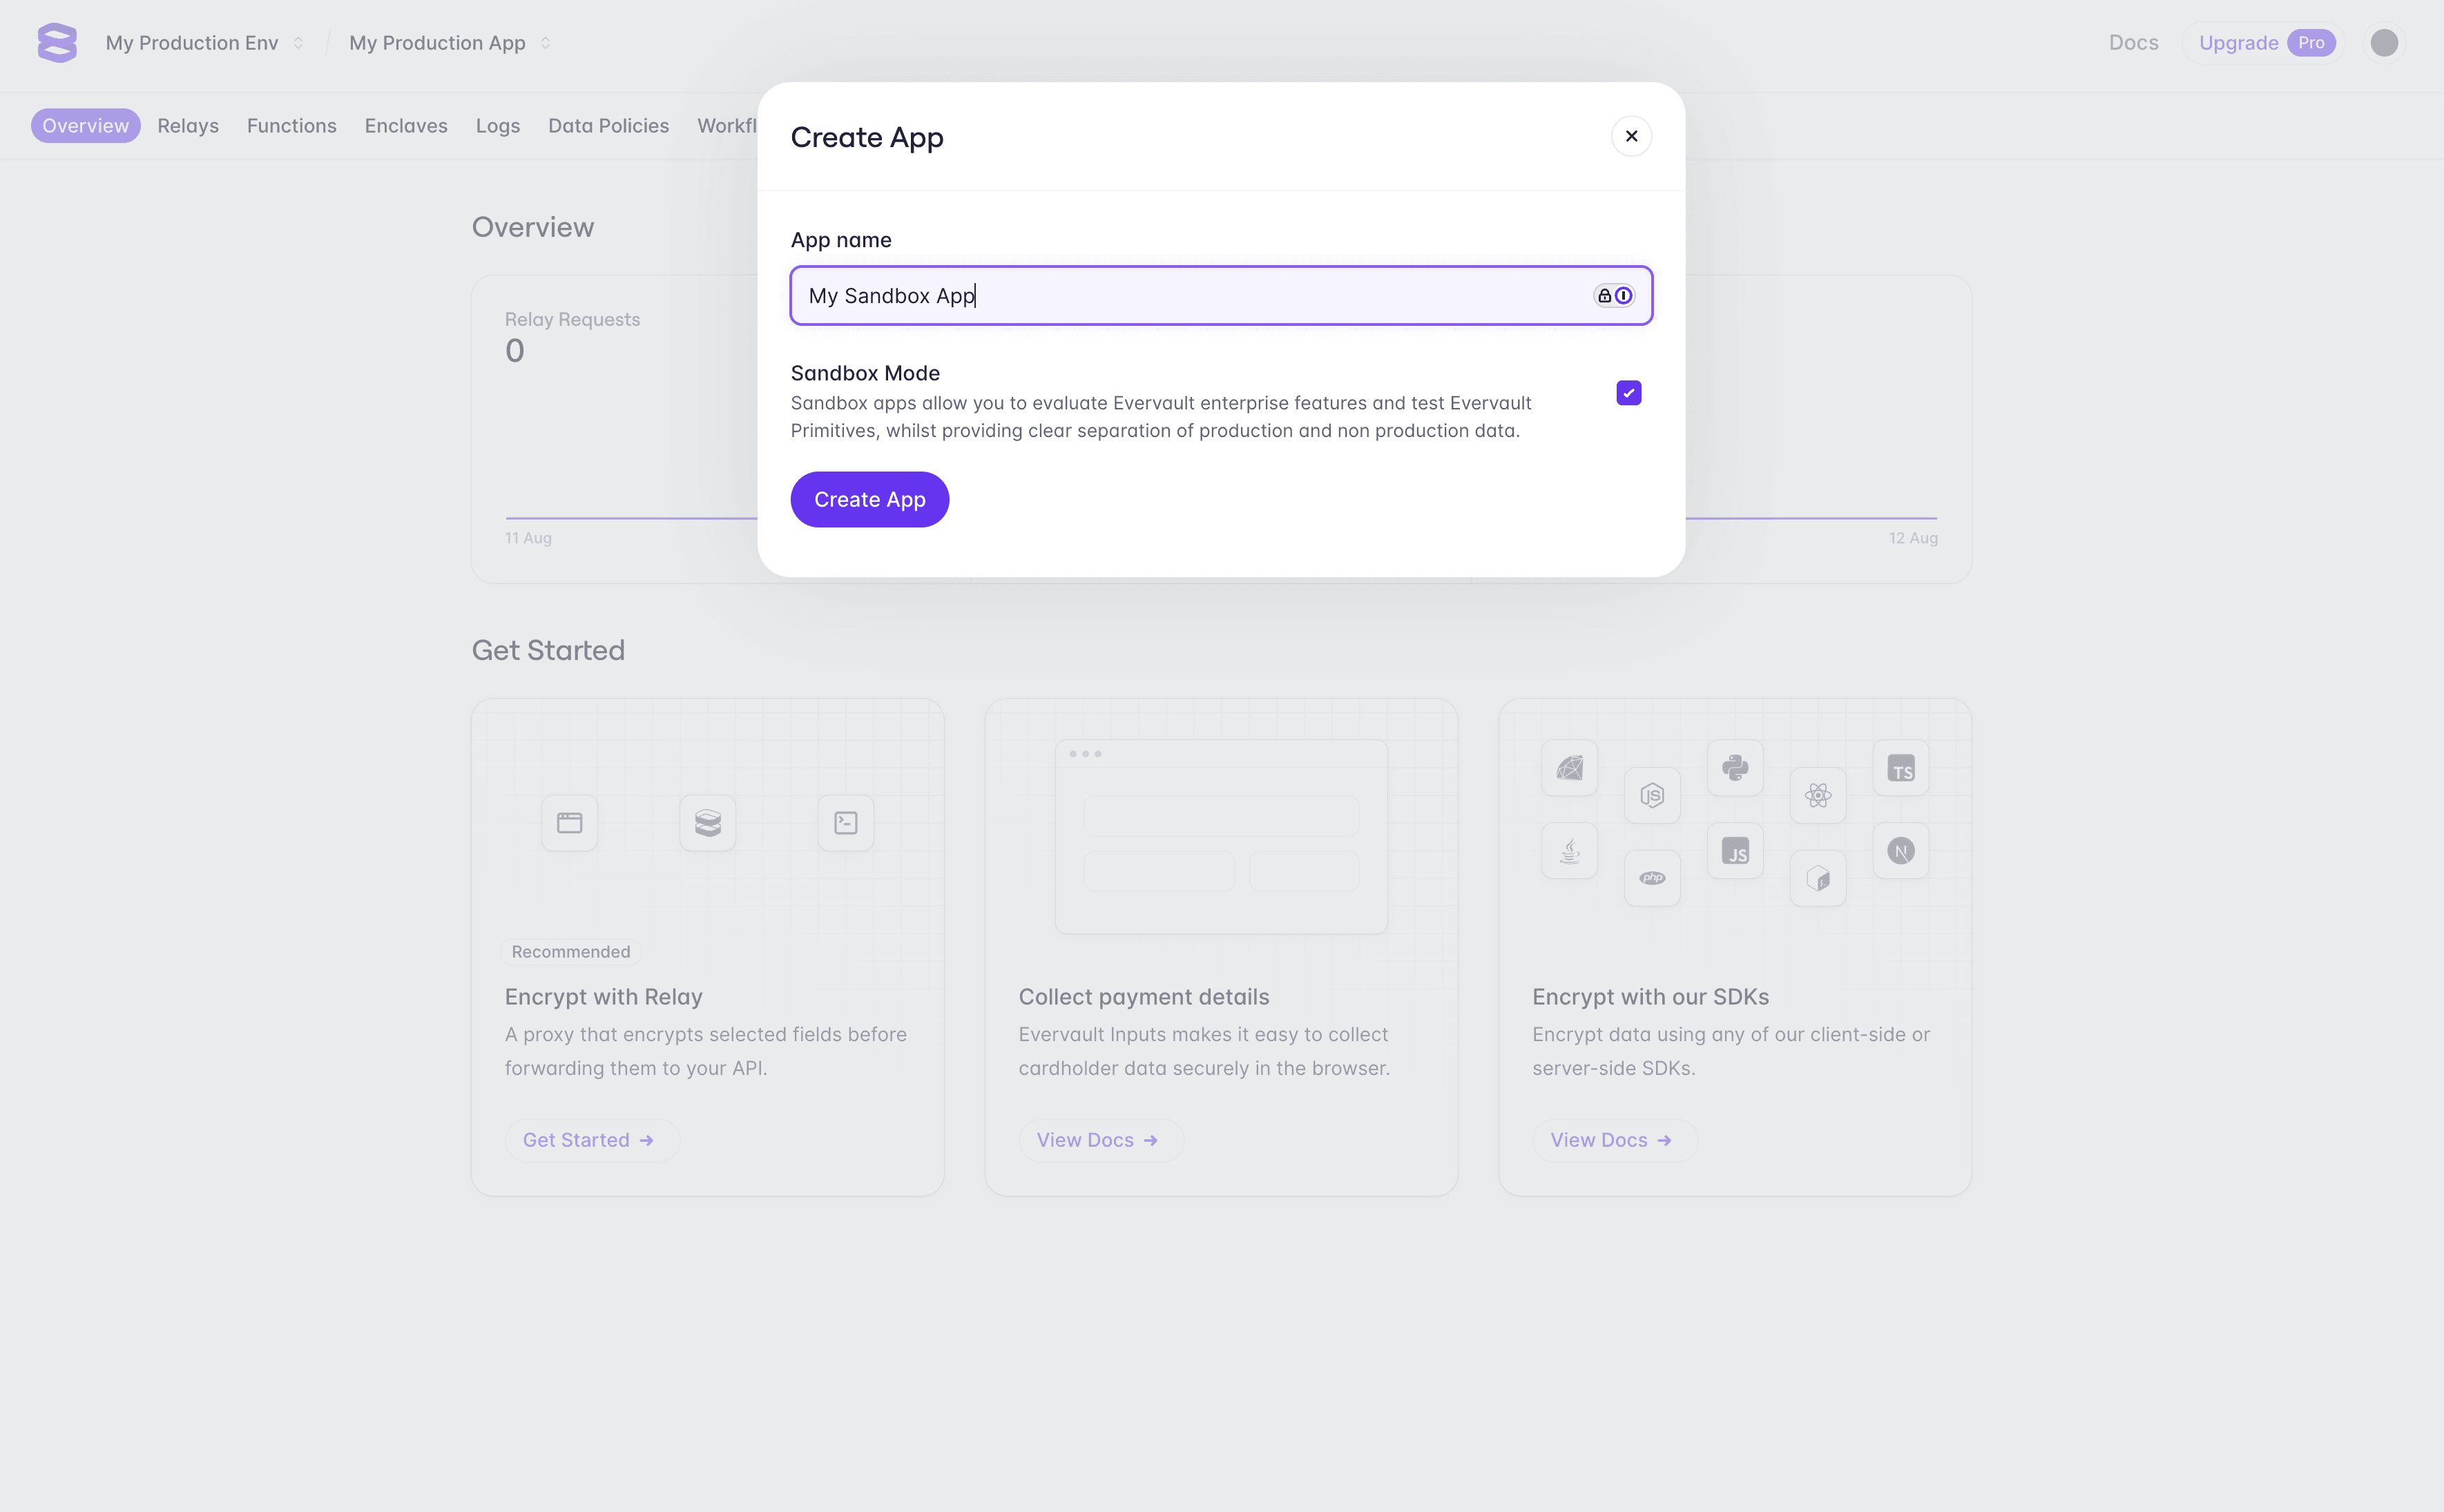
You can create a sandbox app from within the Evervault Dashboard by checking the 'Sandbox mode' checkbox when creating a new app. You can open the app create modal by opening the app switcher dropdown and selecting '+ New App'.
Best practices when using Sandbox Apps.
Sandboxes retain the full suite of functionalities available in a production environment. This feature-rich setup allows you to replicate your production environment precisely, enabling thorough testing and validation. However, to maximize the benefits of using Sandboxes, consider the following best practices:
- Segregate Testing and Production Data: Always use Sandbox to test changes, ensuring that your production configuration and data remain untouched. This segregation prevents any accidental data corruption or configuration issues in your live environment.
- Test with Confidence: Utilize the sandbox environment to test any changes or updates thoroughly. By doing so, you can confidently apply these changes to your production environment, knowing they've been vetted in an isolated environment.
- Mirror Production Configurations: When creating a Sandbox, mirror your production environment as closely as possible. This practice ensures that the testing outcomes are reliable and applicable to your live environment.
- Naming Conventions: Use consistent naming conventions to clearly differentiate between your sandbox and production environments. This practice aids in avoiding confusion when switching between apps.
- Replicate and Deploy: After testing and validating your configurations in your Sandbox, replicate the settings to your App. This approach minimizes downtime and ensures a smooth transition from testing to production.
By following the outlined practices and leveraging Sandboxes effectively, you can ensure a smooth, risk-free development process while maintaining the integrity of your production environment. As Evervault continues to evolve, Sandboxes will remain a cornerstone for testing and evaluating new features, giving you the confidence to innovate without hesitation.