Displaying Card Data
A common Fintech workflow involves retrieving card data from a third-party service—like a card issuer—and then displaying that data to the end user in a mobile or web app. Without Evervault, this workflow would require the product to handle card data in plaintext, which would drastically increase the PCI DSS scope of the environment.
Evervault offers two products to support this workflow while also ensuring that plaintext card data never touches your infrastructure. Adhering to this pattern significantly reduces your PCI DSS scope.
Retrieve Card Data from a Third-Party API
We’re going to use Relay to retrieve card data from a third-party service. Relay is a network proxy which can be configured to encrypt responses from a third-party API before they reach your server.
First, we’ll set up the proxy, then we’ll configure Relay to encrypt responses from the API.
Create a Relay
We’ll use PutsReq to simulate a third-party API. In practice, this could be an endpoint from a card issuer or payments processor. Selecting Create a PutsReq will provision a temporary endpoint that we can send requests to. In the Response Builder, add the following snippet and select Update.
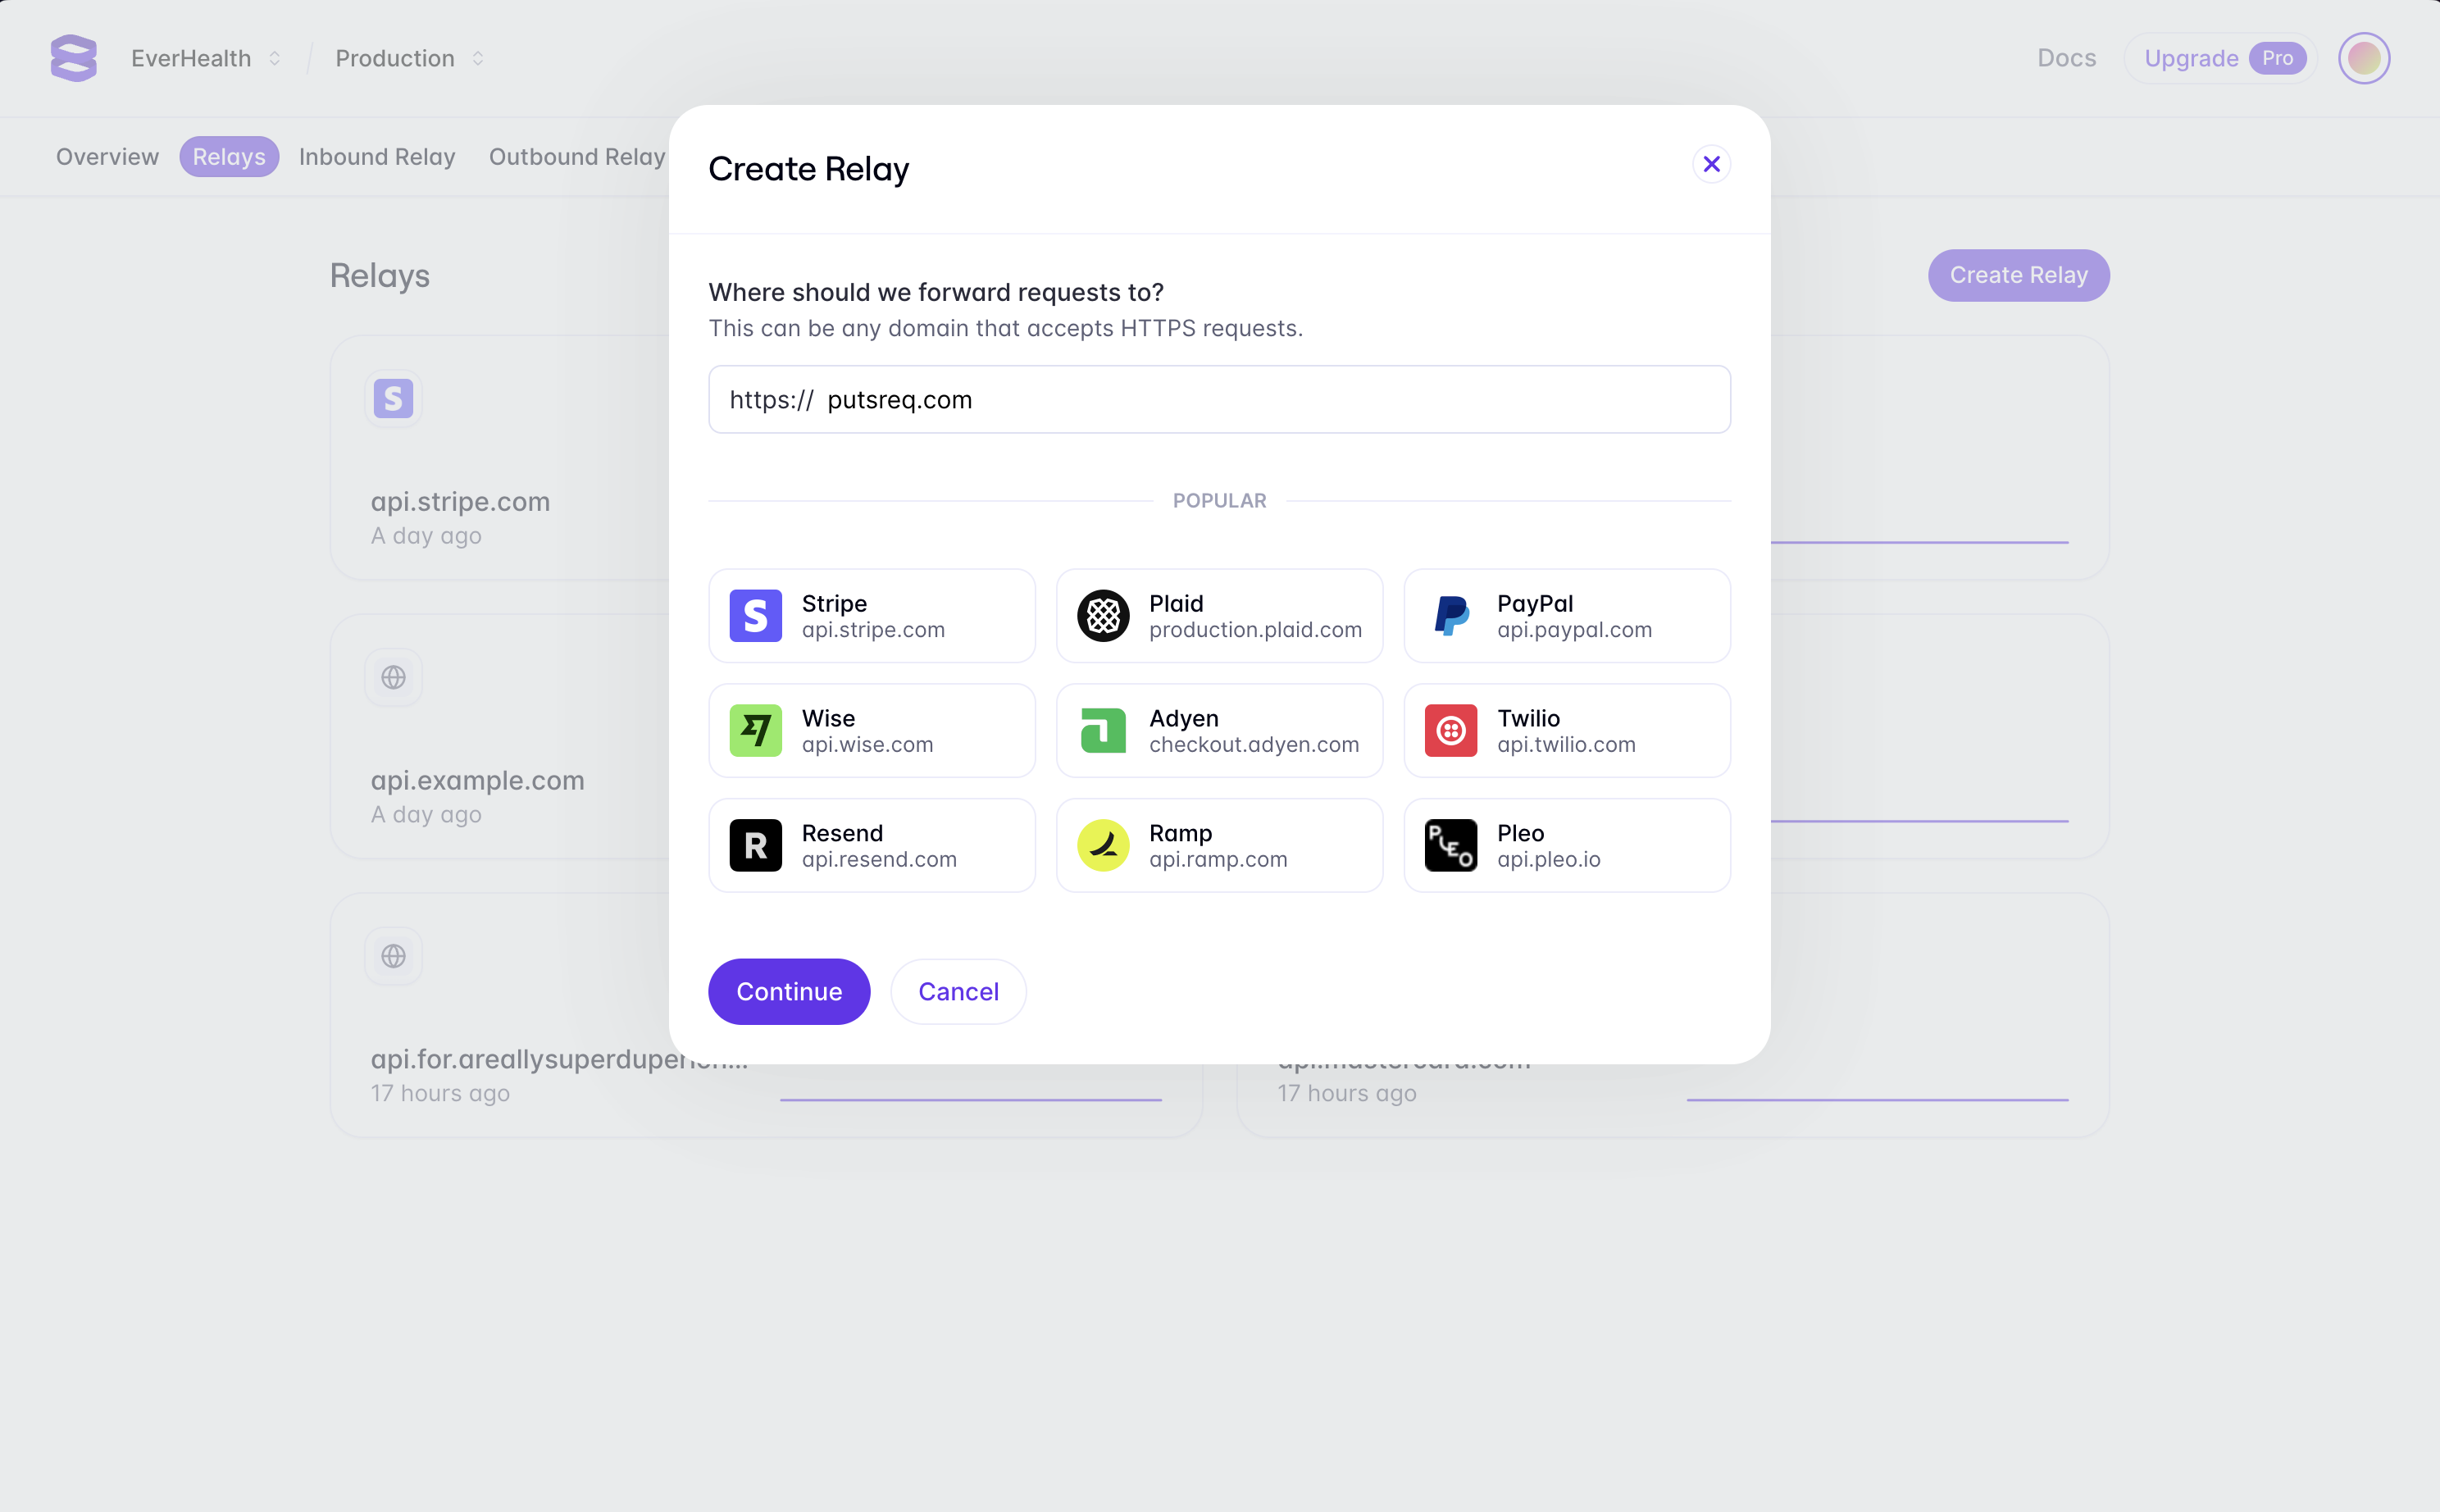
Now that we have our example third-party API, we can create a Relay to proxy requests to it. To create a Relay for your PutsReq endpoint, navigate to the Relays tab in the Evervault Dashboard and click Create Relay and add putsreq.com to the destination field.

Integrate the Proxy
Using an HTTP client, we can send a request to the PutsReq endpoint through the Relay Proxied URL. This allows us to add a relay action to the request.
If you run the snippet, You’ll notice that the response still includes plaintext values for cardNumber, expiry and cvv. Next, we’ll configure Relay to encrypt these fields in the response.
Configure the Proxy
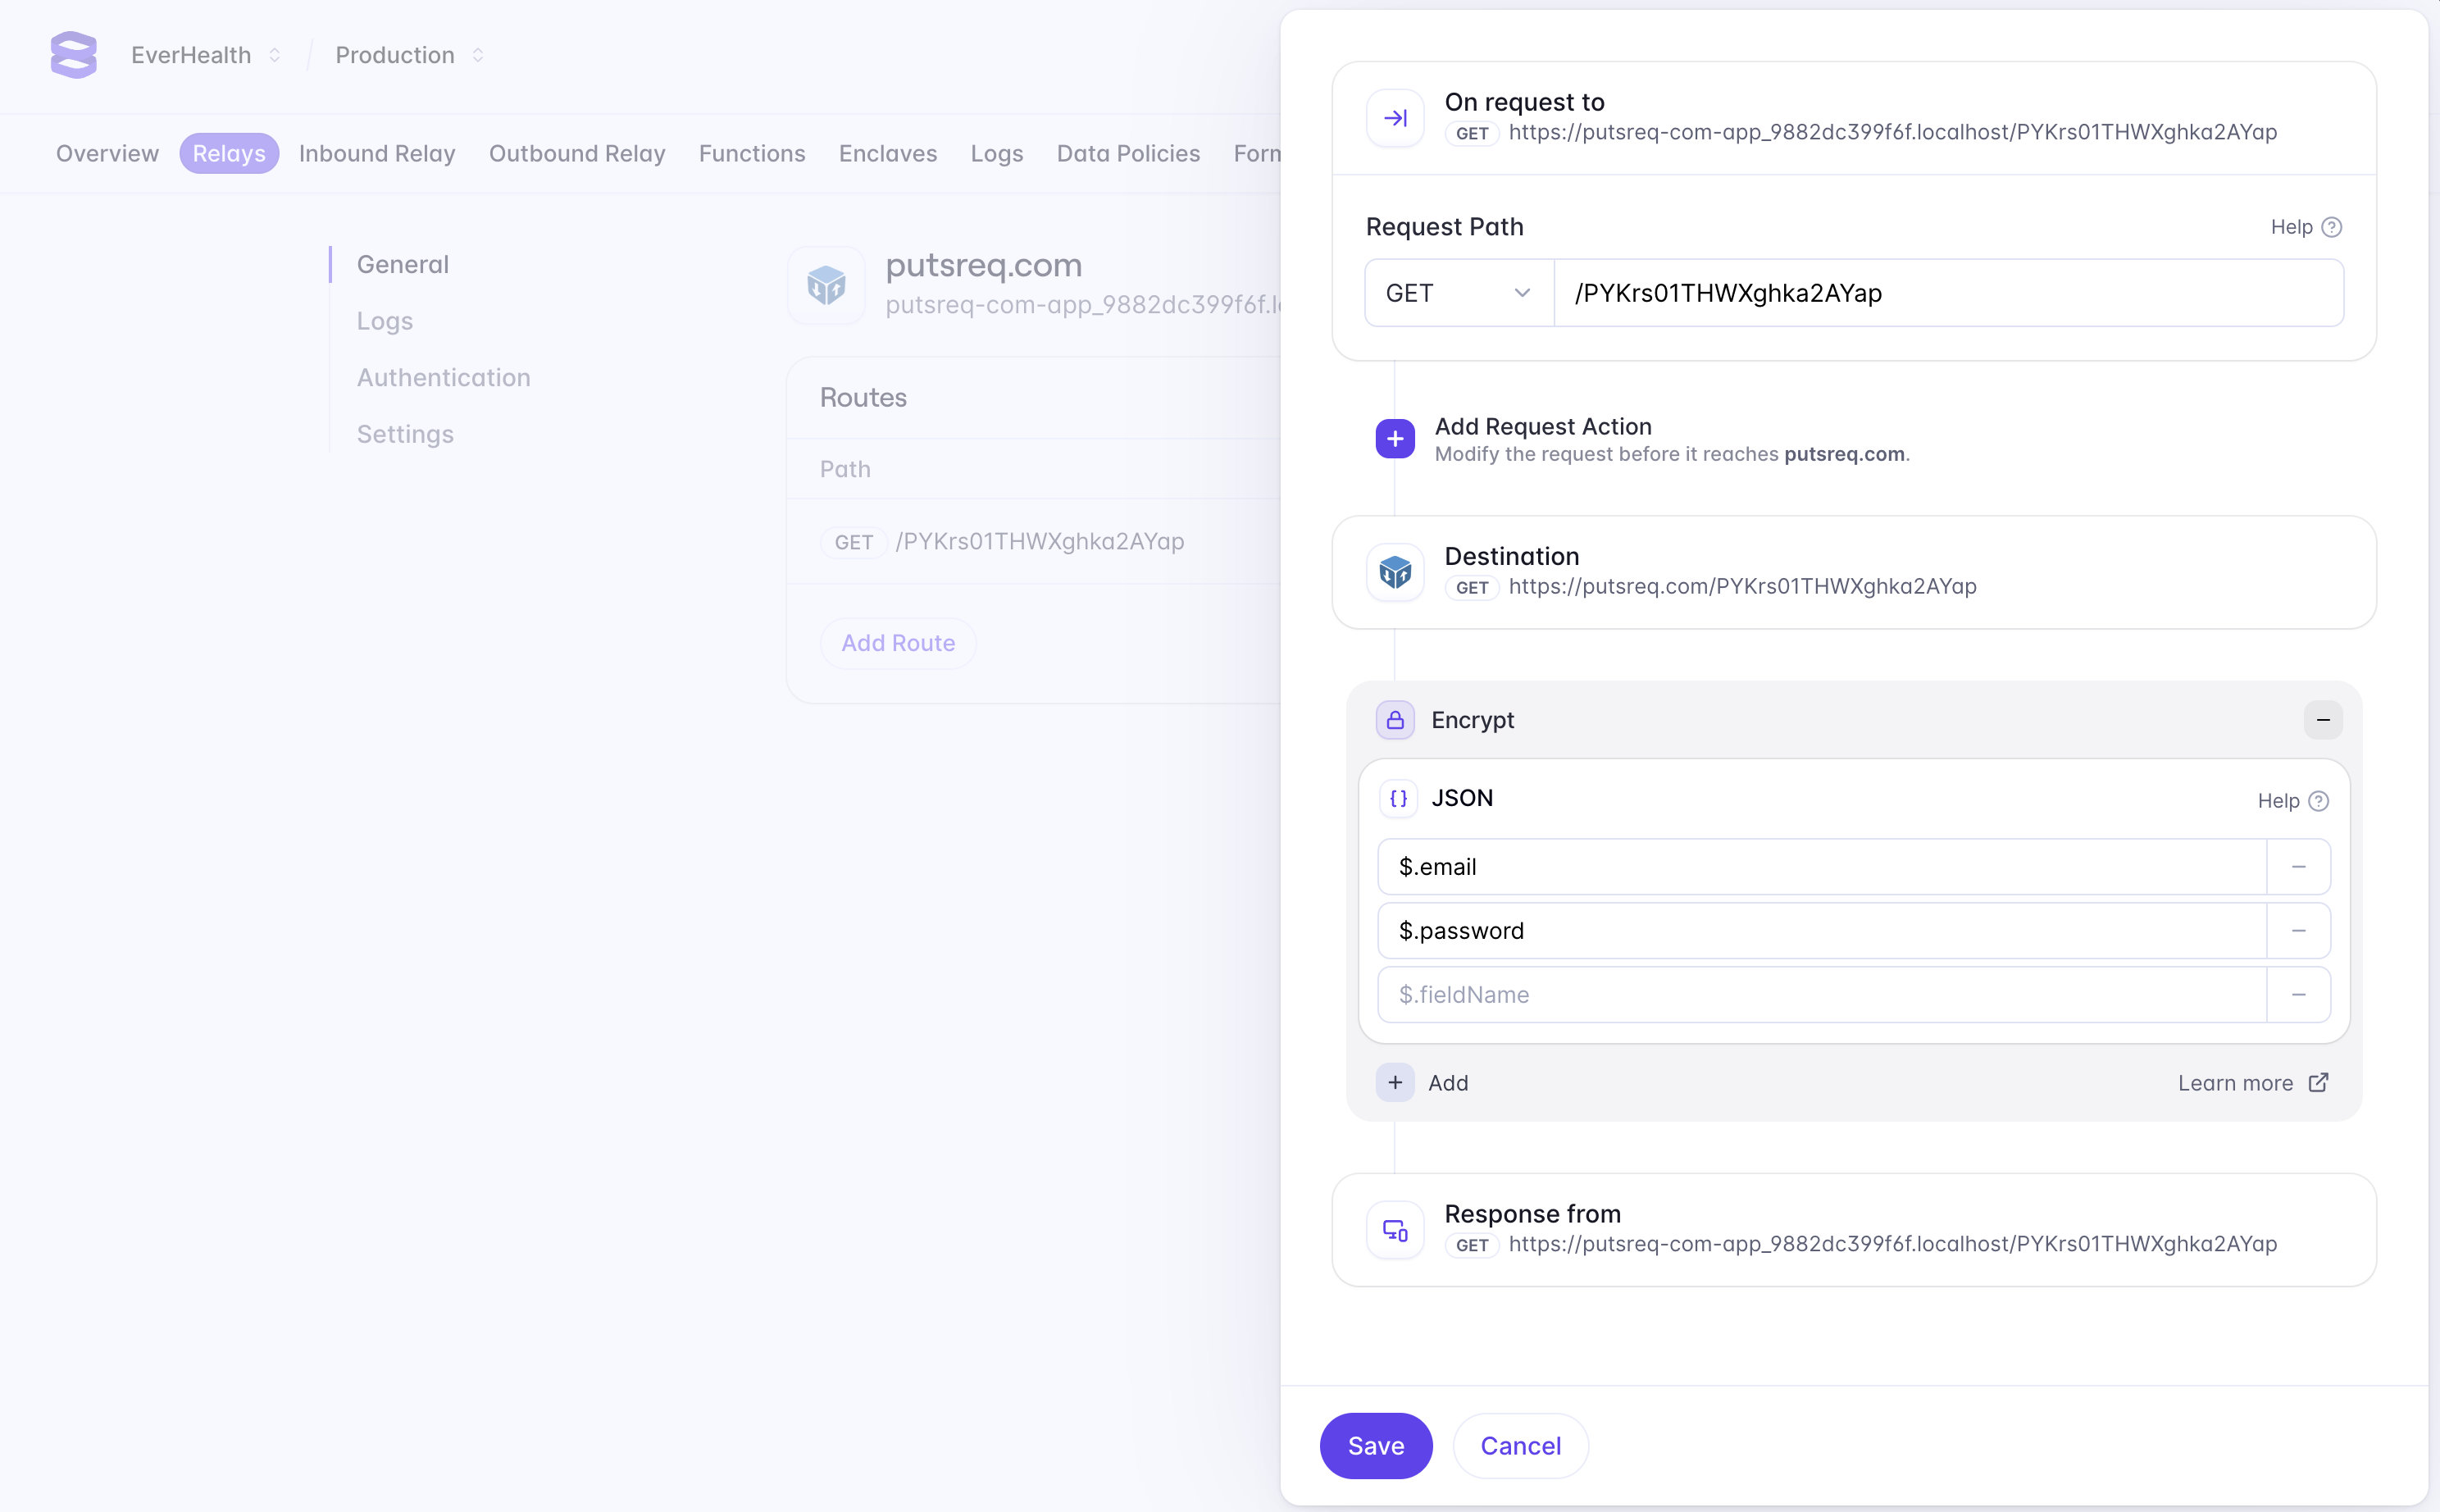
Relay can be configured to encrypt data in requests and responses. Since our endpoint returns plaintext card data, we’re going to configure the proxy to encrypt the response. Doing so allows us to ensure that plaintext card data never touches our server. In the Evervault dashboard, navigate to the Relay you created, and click the Add Route button to configure a new route. We want to encrypt data that is being returned from our PutsReq API, so we can enter our PutsReq path in the path field (e.g '/PYKrs01THWXghka2AYap').
Next, we can add a response action to encrypt fields we want to secure in the response body. Select Add Response Action -> Encrypt -> JSON, and enter $.cardNumber, $.expiry, and $.cvv in the fields to encrypt. JSON requests use JSONPath to match fields in the request body. Learn More

If you run the above code snippet again, you’ll notice that the cardNumber, expiry and cvv fields in the response have been encrypted. This architecture means you can now retrieve and encrypt card data from a third-party service without handling it in plaintext on your server — drastically reducing your PCI Compliance scope.
Next, we’ll show you how to display encrypted card data to our users in plaintext without compromising your compliance scope.
Display Card Data
Displaying plaintext, or unencrypted, card data to end users is a common pattern in Fintech products. Doing this without Evervault would require you to handle plaintext card data in your mobile or web app, which would significantly increase your PCI DSS scope. We can reduce this scope by using the Evervault Reveal UI Component.
Integrate Reveal
Reveal is a secure iframe, hosted by Evervault, which can be used to display plaintext card data.
Before getting started with Reveal, you’ll need an endpoint that returns the encrypted card data. This endpoint can then be proxied via Evervault’s Relay product to decrypt the card data in the response. The Reveal Component requires a request parameter, which receives a Request object pointing at the Relay URL, along with the Authentication headers required to access the endpoint.
For this example, lets assume this endpoint returns the card data in the following JSON:
Make sure that the endpoint you create sets appropriate CORS headers to ensure that it can be accessed by the Reveal iframe; otherwise, the request might fail.

