Guides
Run Inference on a Sensitive Model and Data using Python and Enclaves
In this post you will build an app that takes in an image file and processes it securely in a Enclave. You can follow along by cloning this repo.
Evervault Enclaves make it easy to build, deploy, and scale apps running in Docker containers inside secure enclaves — a cloud based Trusted Execution Environment (TEE). In this guide you will use Python and Enclaves to build an app that takes in a sensitive medical image, in this case a brain scan, run it against a model to determine whether areas of the scan might be cancerous, and returns the results.
Using this process, users can upload sensitive images to the Enclave, while proving that their images cannot be leaked from the Enclave, and in the case of running a sensitive model you can also ensure that the model stays protected. For this example, we will use a publicly available brain tumor segmentation model from Mateusz Buda that can be found here.
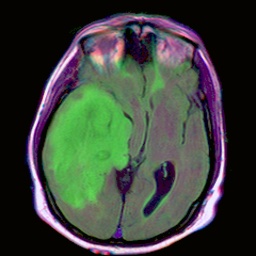
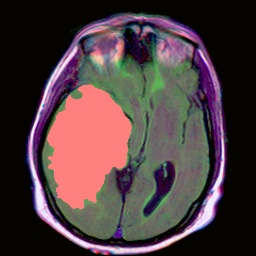
When run, this will be the outcome of the result.
Sample Image
Result
Prerequisites
- An AWS account (sign up or log in here)
- An Evervault account (create a free account here)
- Docker installed (get it here)
Set up
Clone the working GitHub repo.
To run Enclaves you will need to install the Enclaves CLI by running the following command.
Add the model to S3
Because the Enclave is protected from public access, you will need to make the model available using a data store of your choice — this example uses S3.
Download the model weights [tumor-model.pt](http://tumor-model.pt) from the repo and add this file to an S3 bucket. This will allow your Enclave to access the model in order to run inference on it.
In a production instance, by loading the model weights from a private S3 bucket they will remain a secret from the user, so as a model provider you could charge for their use.
While in your AWS account, grab your access key and secret access key: You will need to add these to your Evervault account in a few steps.
The Python app
The back end of the app takes a model downloaded from S3 and runs inference on the model using a sample image supplied from the client. It will check to see which areas of the image may contain a tumor, then will generate a new image with the identified areas overlayed with a red highlight.
Open up the Dockerfile. You will use a virtual environment to install the required libraries needed to run the app. You’ll also tell Docker your webserver will listen on port 8008, which matches the Flask server port defined in app.py.
Initialize the Enclave
First, make sure that you have Docker running. Then, in your terminal run the following command to initalize the Enclave. You can use the suggested name below or change it to one of your choosing.
You should see that a cert.pem, key.pem and enclave.toml are generated. Open up the enclave.toml. You can see that important details are generated that will help with the deployment of your Enclave.
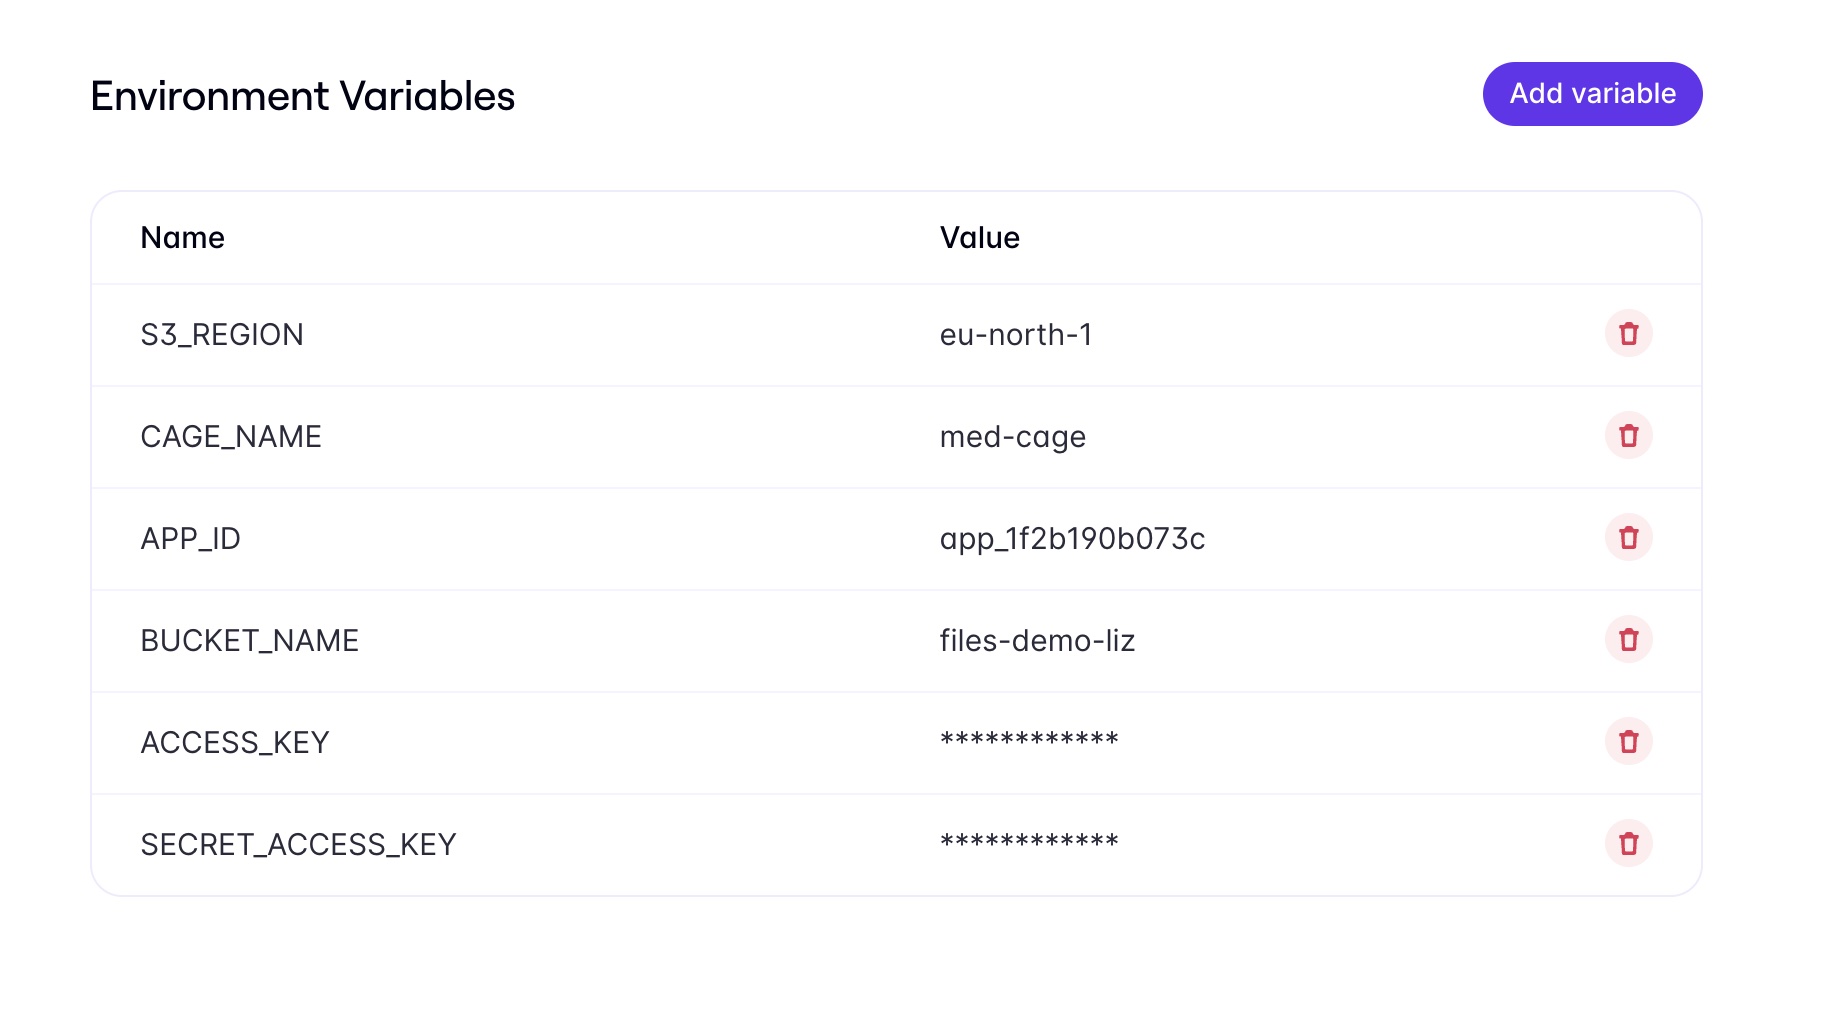
Add Environment Variables
Your Enclave will need to access your S3 credentials as well as your Enlcave name and App ID. Add all of these variables by going to Enclaves > Environment in your Evervault Dashboard. Be sure to check the “secret” box on any sensitive credentials (like the access keys). This will encrypt them and they will only be decrypted in the Enclave.
Build the Enclave
Now build the Enclave using the following command. This will also generate a Dockerfile used to generate the EIF file which will run inside the Enclave (it may take a few minutes).
It will also provide a list of PCRs, cryptographic measurements that are required for the attestation process for the Enclave. These PCRs will be injected into your enclave.toml. You will need to add these to your client in order to make an attested request to the Enclave (you can still make a request to the Enclave without these, it just won’t be attested).
If you decided to run this in CI in an open-source repo, it would allow the end users to view the PCRs of the Enclave
Deploy the Enclave
Finally, you can deploy the Enclave
Setting up the Client
Copy the PCR values generated and add them into the empty JSON values that they correspond with in client_script.py.
The rest of this code will take the sample image provided and send it to the back end. It will also calculate the time elapsed to run the Enclave so that you can monitor it to evaluate for performance.
Run the Client
In the Client directory, open up .env.example and rename it to .env, then add your Enclave name and app ID. — you can also find these in the enclave.toml.
Now you may run the client script, which will pass the sample image into the Enclave and run inference on the ML model.
When run successfully, you should see response-image.png in your file tree. When opened, it will look like the below:
Conclusion
In this guide, you used Python to process a sensitive image on a model running inside a Enclave. If you ran into an issue or have any questions about this guide, feel free to raise them on GitHub. Let us know what you’re interested in using with secure enclaves!